Picture this: you pull the shower knob and a cascade of warm water rushes over you in a sleek, glass‑enclosed space, while the old tub that once hogged half the bathroom disappears like magic.
Gilbert homeowners are swapping tubs for showers faster than you can say “water‑wise,” and it’s not just about looks. A well‑done conversion saves gallons, frees up floor space, and can add serious curb appeal when you list the house.
Worried about hidden costs, plumbing nightmares, or picking the right tile? You’re not alone, but the right plan turns those worries into a simple checklist you can tackle step by step.
Ready to see exactly how you can turn that dated tub into a spa‑like shower without breaking the bank? Keep reading and we’ll walk you through every move, from demolition to the final polish.
Assessing Your Bathroom: Space, Layout, and Plumbing Basics
First thing’s first—grab a tape measure and walk the room. Know exactly how much square footage you have before you start dreaming about a walk‑in shower. A typical bathtub occupies about 32‑36 inches wide and 60 inches long; subtract that footprint and you’ll see how much floor you can reclaim for tiles, benches, or a sleek bench seat.
Measure the Footprint
- Width: from wall to wall at the tub’s widest point.
- Depth: include any built‑in shelves or medicine cabinets that might bite into the space.
- Clearance: leave at least 30‑36 inches of open floor for a comfortable entry.
Next, map out the plumbing. The drain is usually centered under the tub, but the supply lines may run along one wall. Identify where the hot and cold lines meet the wall and note any elbows or shut‑off valves. If the existing drain is far from where you want the new shower, you’ll need to reroute pipe—something a licensed plumber can handle without turning your project into a nightmare.
Plumbing Basics to Check
- Drain location: is it 2‑4 inches from the wall? Good.
- Supply lines: copper, PEX, or PVC? Know the material before you order fittings.
- Vent stack: ensure it’s not blocked; a clogged vent can cause slow drainage.
Finally, peek at the subfloor. If you have a concrete slab, waterproofing is a must; if it’s wood joists, you’ll need to verify they can support a new shower pan without sagging. Look for any signs of rot or water damage before you cut into the floor. Spotting these issues early saves you from surprise costs later on.
Selecting the Ideal Shower Design, Materials, and Water‑Saving Features for Gilbert Homes
Design choices that fit the desert vibe
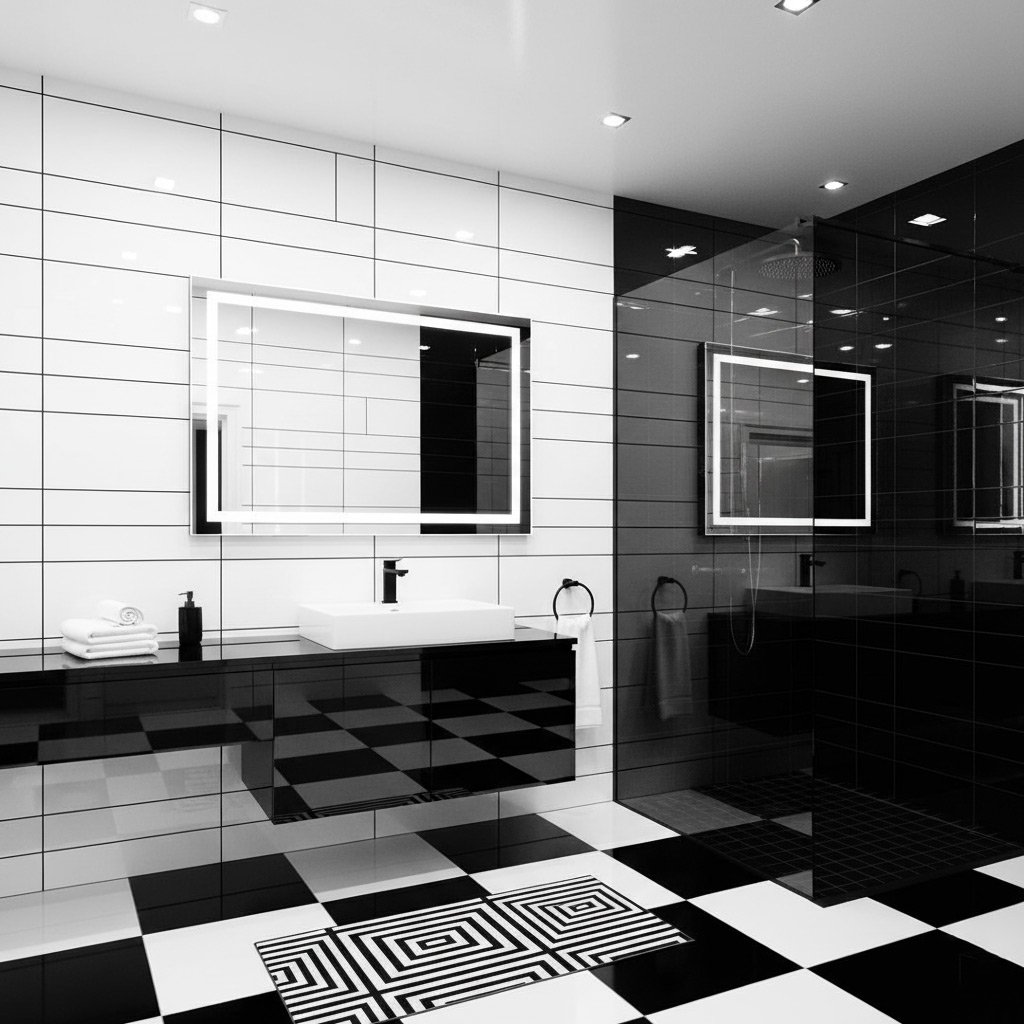
Gilbert’s sunny climate makes a walk‑in shower with a clear glass door a no‑brainer. Frameless glass lets light bounce off the tile, making the space feel larger than the whole bathroom.
If privacy matters, consider a frosted panel or a sliding door that tucks into a recessed pocket. Both keep the sleek look without sacrificing function.
Materials that survive the heat
Porcelain tile is the workhorse—hard, low‑maintenance, and cool underfoot. Pair it with a linear drain to keep water moving fast.
- Large‑format tiles (12”+): fewer grout lines, easier cleaning.
- Natural stone (slate, travertine): adds texture, but seal it every 2‑3 years.
- Water‑proof backer board: essential under any tile in a Gilbert shower.
Saving water without sacrificing luxury
Install a low‑flow showerhead that still delivers a full spray. Look for the WaterSense label—up to 30% less water use.
Combine it with a thermostatic valve to lock in temperature, so you won’t be fiddling with the knob and wasting water.
Budgeting the Conversion: Detailed Cost Breakdown and How to Avoid Hidden Expenses
Cost Categories You Can’t Ignore
First, split the project into four buckets: demolition & disposal, framing & plumbing, waterproofing & tile, and fixtures & finishes. Each bucket has a price range that varies with material quality and labor rates in Gilbert.
Typical spend looks like this:
- Demolition & disposal: $500‑$1,200
- Framing & new drain line: $800‑$1,500
- Waterproof membrane & backer board: $600‑$1,000
- Tile (ceramic, porcelain, or stone): $1,200‑$3,500
- Shower enclosure & hardware: $900‑$2,200
- Labor (install, grout, seal): $1,500‑$3,000
Avoiding Surprise Fees
Hidden costs love to creep in when you skip the fine print. Ask for a line‑item quote and watch for vague entries like “miscellaneous” or “contingency.” Those are red flags.
Here’s a quick cheat sheet to keep your wallet safe:
- Inspect the existing plumbing before demolition; unexpected pipe reroutes can add $1,000‑$2,000.
- Confirm the waterproofing system’s warranty; cheap membranes may fail and cost you a redo.
- Get a written guarantee on tile work; uneven slabs often mean extra labor later.
By locking down each piece up front, you’ll stay in control and keep the conversion on budget.
Step‑by‑Step Conversion Process: Demolition, Framing, Waterproofing, and Drain Installation
Demolition
Turn off the water main, disconnect the tub’s supply lines, and pry the tub out of its flange. Toss the old mortar, backer board, and any damaged drywall into a heavy‑duty bag—keep the rest of the bathroom clean.
Framing & Waterproofing
Build a new stud wall to fit the shower pan, add blocking for the valve, then coat everything with a liquid waterproofing membrane. Follow with cement board, tape the seams, and roll a second coat of membrane around the curb and niche.
- Studs: 2×4s at 16‑inch centers, with extra blocking for the valve.
- Membrane: Apply the first coat, let it cure, then repeat on seams and corners.
- Backer board: cement board only—no drywall in wet zones.
Drain Installation
Set the pre‑slope, position the PVC drain assembly, and test the slope before cementing. Lock the drain, attach the trap, run a short pipe to the existing waste line, and check for leaks before you start tiling.
Installing Fixtures, Tile, and Finishing Touches for a Spa‑Like Experience
Choosing Fixtures
Start with a rain‑shower head that delivers a gentle cascade; it feels luxurious without guzzling water.
Pair it with a thermostatic valve so the temperature never surprises you.
- Hand‑held shower for flexibility and easy cleaning.
- Brushed‑nickel or matte black finishes match modern Gilbert kitchens.
- Low‑flow models keep the utility bill in check.
Tile Installation Tips
Lay large‑format porcelain on the floor to make the space feel bigger.
Use a slip‑resistant finish near the curb to avoid slips.
- Accent a single wall with a bold mosaic for visual interest.
- Apply a waterproof membrane before the first tile; it’s the safety net you’ll thank yourself for.
- Grout in a neutral tone, then seal it to prevent staining.
Finishing Touches
Install recessed LED lighting that stays cool and highlights the tile work.
Add a built‑in niche for shampoo and soap—no more cluttered shelves.
Finish with a plush, mildew‑resistant bath mat and a scented candle for that spa vibe.
Case Study: Transforming a 1970s Tub into a Modern Walk‑In Shower in a Gilbert Residence
Client Profile & Initial Challenges
When the Martinez family bought their 1970s ranch home, the bathroom felt like a time capsule—an oversized claw‑foot tub, cracked tile, and a cramped layout. They wanted a sleek, walk‑in shower that wouldn’t eat up the limited square footage. The biggest hurdle? Old copper pipes that ran beneath the tub and a low‑slope floor that needed a complete re‑grade.
Design Decisions & Material Choices
We went with a linear drain and a frameless glass enclosure to keep the space feeling open. The tile selection was a game‑changer: a 12×12 matte porcelain that mimics natural stone but stays cool underfoot.
- Shower base: pre‑sloped acrylic pan for quick install and zero water pooling.
- Water‑saving fixtures: low‑flow rainhead and a thermostatic valve that cuts water use by 30%.
- Accent wall: reclaimed brick veneer for a touch of Southwest charm.
Results & ROI
After a four‑day conversion, the Martinez bathroom now feels like a boutique spa. The new shower boosted the home’s resale value by an estimated 5%, and the family reports a 20% drop in their monthly water bill. Bottom line: a smart design, quality materials, and precise plumbing work turned a dated tub into a profit‑center without blowing the budget.
Final Words
Before you swing that new shower door open, give yourself a quick sanity check. Did you verify the slope of the floor? Is the waterproof membrane sealed at every seam? A tiny oversight now can turn a dream shower into a leaky nightmare later.
Quick Checklist
- Confirm the drain is at least 2 inches lower than the shower base.
- Seal all corners with 100% silicone rated for tile.
- Test the water pressure after the new valve is installed.
- Inspect tile grout for uniform spacing; uneven grout invites mold.
- Schedule a final walkthrough with your contractor to sign off on the work.
Maintenance is a breeze when you stick to a simple routine: wipe down glass after each use, run a short hot‑water flush weekly, and re‑caulk any gaps you spot. Treat your shower like a high‑end appliance, and it’ll keep looking fresh for years.
Need a trusted pro to handle the heavy lifting? Our team specializes in Tub to Shower Conversions across Gilbert, AZ. We’ve turned dozens of dated tubs into spa‑like retreats—let’s add yours to the list.
People Also Ask
How much does a tub‑to‑shower conversion typically cost in Gilbert, AZ?
A standard conversion in Gilbert ranges from $5,000 to $12,000, depending on the size, materials, and plumbing complexity. Adding premium tile or custom fixtures can increase the price, while basic acrylic surrounds keep costs lower.Do I need a permit for a tub‑to‑shower conversion in Gilbert?
Yes, the City of Gilbert requires a building permit for any structural changes, plumbing modifications, or waterproofing work. Your contractor should handle the permit application and inspection process for you.Can I keep my existing bathtub plumbing when converting to a shower?
In many cases the existing drain and water supply can be reused, but the pipe layout often needs adjustment to meet shower code requirements. A professional plumber will assess whether the current plumbing can be adapted or if new lines are necessary.What water‑saving features should I consider for a new shower?
Low‑flow showerheads, thermostatic valves, and digital flow controllers can reduce water usage by up to 30 % without sacrificing performance. Look for products with the EPA WaterSense label for proven efficiency.How long does a typical tub‑to‑shower conversion take?
Most residential conversions are completed in 7‑10 business days, including demolition, framing, waterproofing, and finishing. Delays can occur if unexpected structural issues or permit hold‑ups arise.Gilbert Bathroom Remodel brings over a decade of specialized bathroom renovation experience to homeowners throughout Gilbert, Arizona. Their team combines skilled craftsmanship with a deep understanding of local design trends to deliver functional, stylish spaces. Committed to personalized service, they work closely with each client to ensure every project reflects the unique character of the community.
Need Bathroom Remodel?
We transform bathrooms in Gilbert, AZ (85233, 85234, 85295, 85296, 85297) and nearby communities with fast, reliable remodels, delivering beautiful, functional spaces on schedule.
Get Bathroom Quote